In our first processing workshop we explored how to setup a basic workspace, how to make different shapes, how to randomise different effects, and how to use get shapes to follow the mouse pointer.
void setup, void draw, and shapes
The first thing we had to do is set up the page. This is important because it allows you to create a custom working space. An example of this is defining the size of the canvas (the space) with which we were working in. We did this by using the size() attribute and then entering the width and height of the canvas with the parenthesis. Processing works in pixels so each number represents a pixel, so “size(500,500);” will create a space with a width and height of 500 pixels.
What we did next was create a shape. We did this in the void draw() section as this is where any code that is to do with content within the canvas will be outputted to the screen. We created a rectangle by using the rect tag. The rect tag had 4 parameters which we had to define to get the shape to be outputted onto the screen. The 4 parameters were position-x, position-y, width and length. Below is a screenshot of the code and the output of that code to the screen.


Randomise
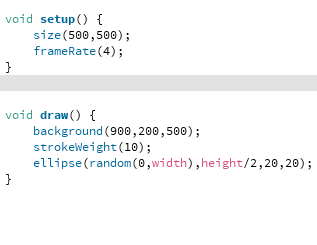
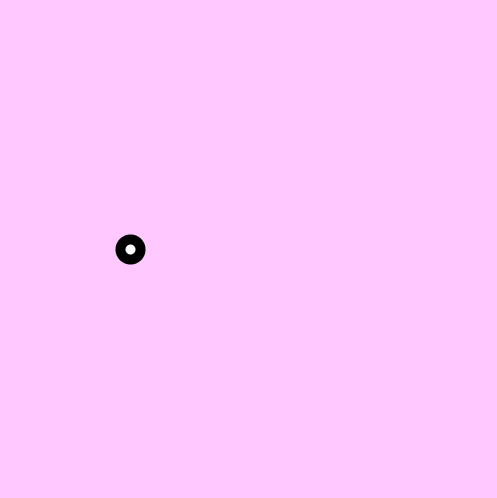
We used the random attribute to make a circle change position around the canvas. This was done by using the random function. We created a shape exactly the same way we had done before only this time we set the x axis to random(0,width). this mens that the ellipse can appear anywhere between 0 on the x axis and the entire width of the canvas. The height on the y axis was set to height divided by 2 which meant that the ellipse would appear in the centre of the y axis because the canvas is 500 pixels high and 500 divided by 2 is 250.
Lines and mouseX, mouseY
The nest thing we did was experiment with the line attribute. In order to make lines you must define 4 parameters. The first two define the position of the first point of the line and the second two define the position of the second point of the line. So if the size of the workspace is 500 by 500 pixels, and you wanted to draw a diagonal line accross the whole workspace, you would enter the parameters (0,0,500,500). An example of this is shown below.

The Result of the code.

What we then did was use the mouse to change the position of the line. This was done by setting the coordinates to mouseX and mouseY. What this did was tell the program to set the first point of the line to the x axis and y axis of the mouse pointer. This resulted in the line tracking the mouse pointer wherever it moves on the page. We then set the second two parameters to random(0,500) which made the second point of the line able to appear anywhere on the 500 by 500 pixel canvas. An example of this is shown below.

Below is the result of the code. Although it can’t be seen in the screenshot the mouse pointer is in the middle.

